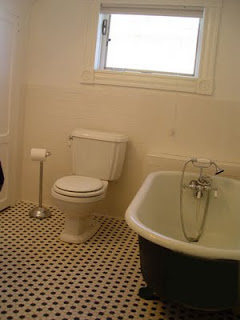
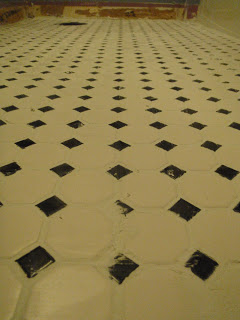
Well the Bathroom Redo of Our Redo has completed the tile and grouting phase. This also shows the tile we chose for the floor. We wanted something with a more vintage feel to fit the look of our 1924 house. We have gone on a lot of historic home tours in the area and decided we wanted small black and white tiles. We found them in a lot of older homes and loved the look.
Here is a picture of the inspiration (not our bathroom), I also think my grandmother's bathroom had tiles like these.
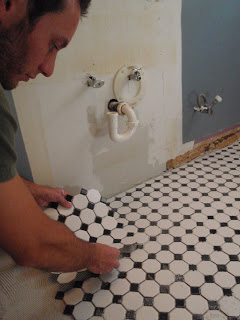
Here are the steps that Alex took along the way, he was really happy that I was taking pictures of him, he loves to tile and grout (sarcasm font).
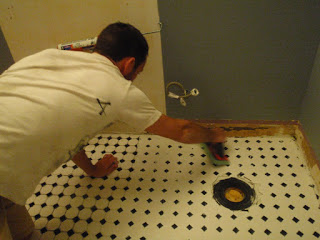
Laying the mortar down with the trowel

Laying sections of tile into the mortar
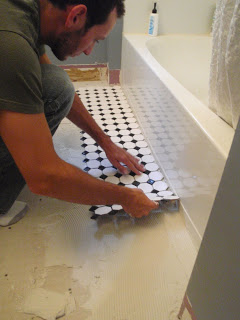
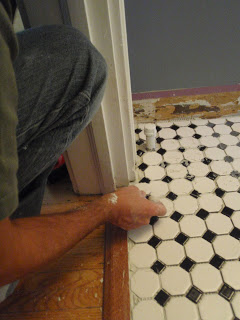
Pressing tiles in securely with a grout float
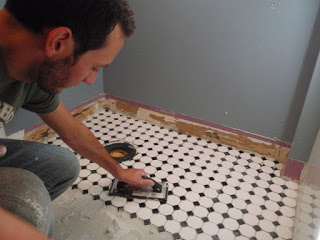
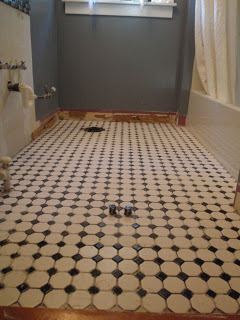
Progress!
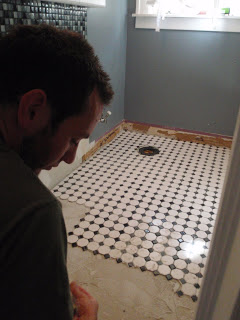
Laying the last single tile!
Laying the tile is complete!
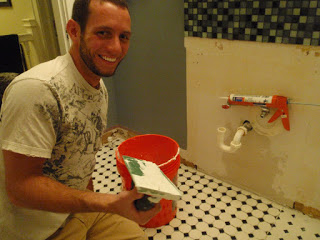
Then, after clearing the grout lines between tiles of any mortar that was there after the installation, Alex mixed the grout and began laying it in the lines with the float.
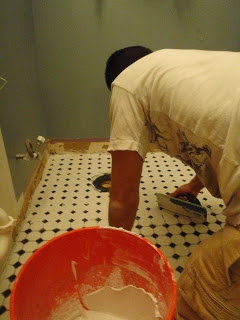
I stood in the tub to take these pictures and asked Alex to smile for one. After hearing several times "No! Go away!" I got a gorgeous smile and a laugh. Ahhh the mood swings of home renovating :)
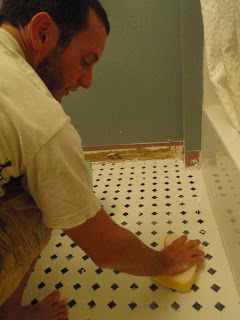
Then the tile sets with the grout for 30 minutes to firm up
After the 30 minutes passed, Alex cleaned the lines with a damp sponge. The directions say to wait 16 hours before you can walk on it, but we are going to wait 24 since we have had bad experiences before with tile and grout. We need that grout to solidify baby!
That's it for this part, goodness I can't wait for my sink and toilet to be back! That should be the next bathroom blog (I hope)!