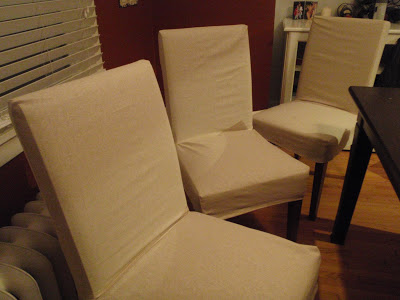
Phew!!! Feeling a bit pooped, but pumped that I got finished with chair #3 for my chair cover project! I started this about 2 weeks ago (sad) but got busy with sanding and painting our table and helping Alex with the bathroom redo. So once I got started on chair 3 I felt pretty confident with the steps and decided to snap pictures as I made the cover so I could share.
Before I get started, I have to mention that I only had to cut 2 pieces of fabric. I learned after the first chair, that I was cutting out too many pieces and it got too complicated. All you need is 2 pieces of fabric! I picked up some linen-looking fabric from Joanne's for $3.99 a yard (had a 40% off coupon too, so make that $2.39 a yard-woot!). Here we go!


Before I get started, I have to mention that I only had to cut 2 pieces of fabric. I learned after the first chair, that I was cutting out too many pieces and it got too complicated. All you need is 2 pieces of fabric! I picked up some linen-looking fabric from Joanne's for $3.99 a yard (had a 40% off coupon too, so make that $2.39 a yard-woot!). Here we go!
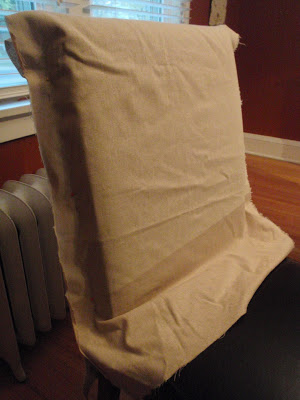
First, cut one piece of fabric to cover the face and back of the chair back (so the fabric folds over the top). Then, sew the sides together stopping where the chair back meets the seat. I tried to illustrate by pinning the sides, so this would be the inside of the cover.
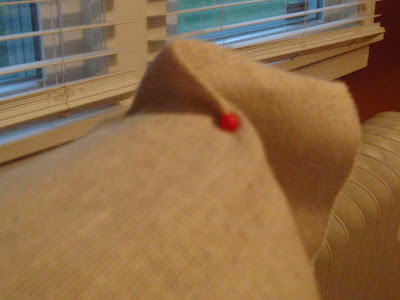
Second, once the sides are sewn pin the top to make a corner for the chair top (looks like a little triangle). Make sure to sew a smaller corner than you think you will need, easier to sew more after to fit than it is to seam rip and start over.
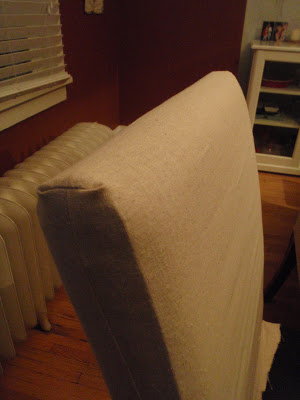
After you sew each top corner and flip right side out it should look like this...
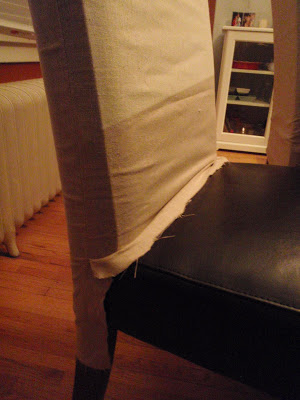
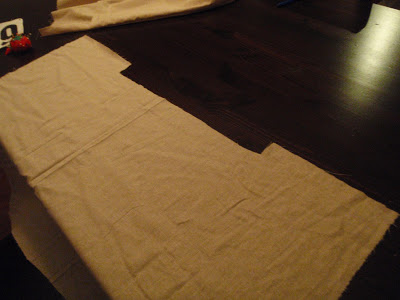
Here is where the tricky part starts. So since we are only working with 2 pieces of fabric, you have to leave the chair back side piece whole, but cut the chair face side fabric to end at the seat.
Here is what that piece looks like off of the chair (in the photo you can see I left the back piece whole and cut the front shorter).
This is the second piece of fabric for the seat. I cut out a little rectangle in the center of the fabric that is half the depth of the chair back.
This is what that rectangle is for, it will line up where the chair back and seat meet and wrap the side of the chair back to match up with the chair back piece (the first sewn piece of fabric).
Here is the chair back piece flipped inside out pinned to the chair seat fabric to be sewn. Line up the edges of the fabric and pin together to make sewing easy.
Here is a view of the seat with the pins lined up for sewing.
View of the other side pinned for sewing.
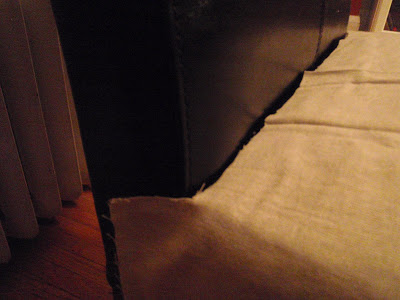
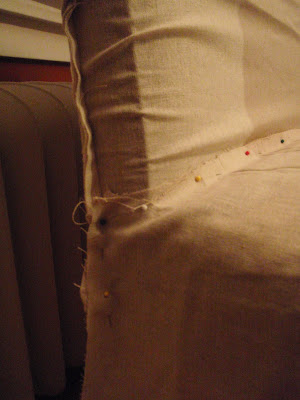
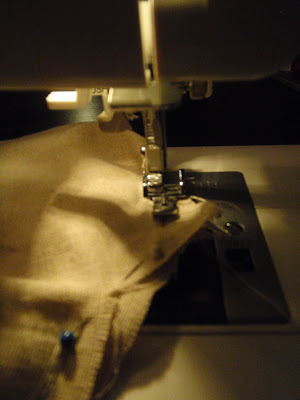
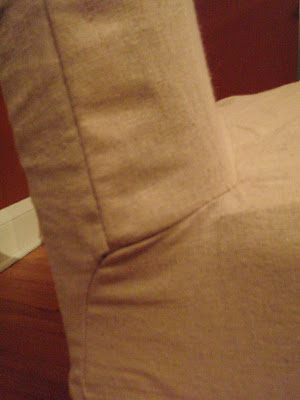
The part where the sides turn up to the seat is very tricky to sew. Keep pins in place and take the corner slowly.
After you sew and flip right side out this is how the corner should look. It is definitely the hardest part to line up and sew. It took me until the third chair to get the hang of it, but once you do the way the cover fits the chair is perfect!
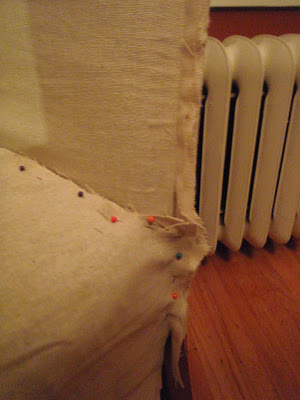
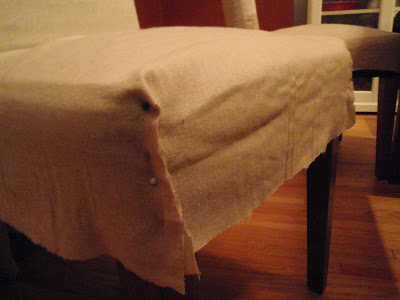
Now the front corners, flip the cover inside out so all seams are showing. Then pin where your corners are located and cut off excess fabric.
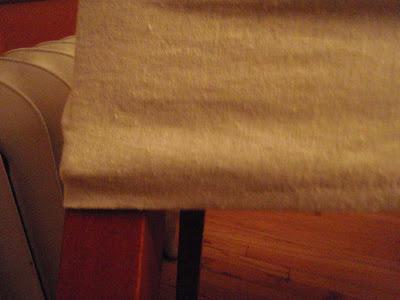
Once you sew the front corners you are ready to hem the bottom! First make sure you cut the bottom so it is even and level with the bottom of the seat. Then iron about a half inch up for the hem. Here is the hemmed edge of the back of a cover...
You should now have a chair cover! I have 3 done so far, it really gets easier as you go. I have 3 left, then onto adding the prints to the chair backs!